A pergola can transform your outdoor space from simple to stunning, offering shade, style, and a dedicated area for relaxation or entertainment. While the idea of building your own pergola might seem daunting, there are plenty of easy DIY pergola ideas that even beginner builders can tackle.
Simple and Stylish DIY Pergola Plans
Whether you’re after a cozy corner for morning coffee or a dramatic focal point for your patio, choosing the right pergola design is key. Here are a few easy DIY pergola ideas to get you started:
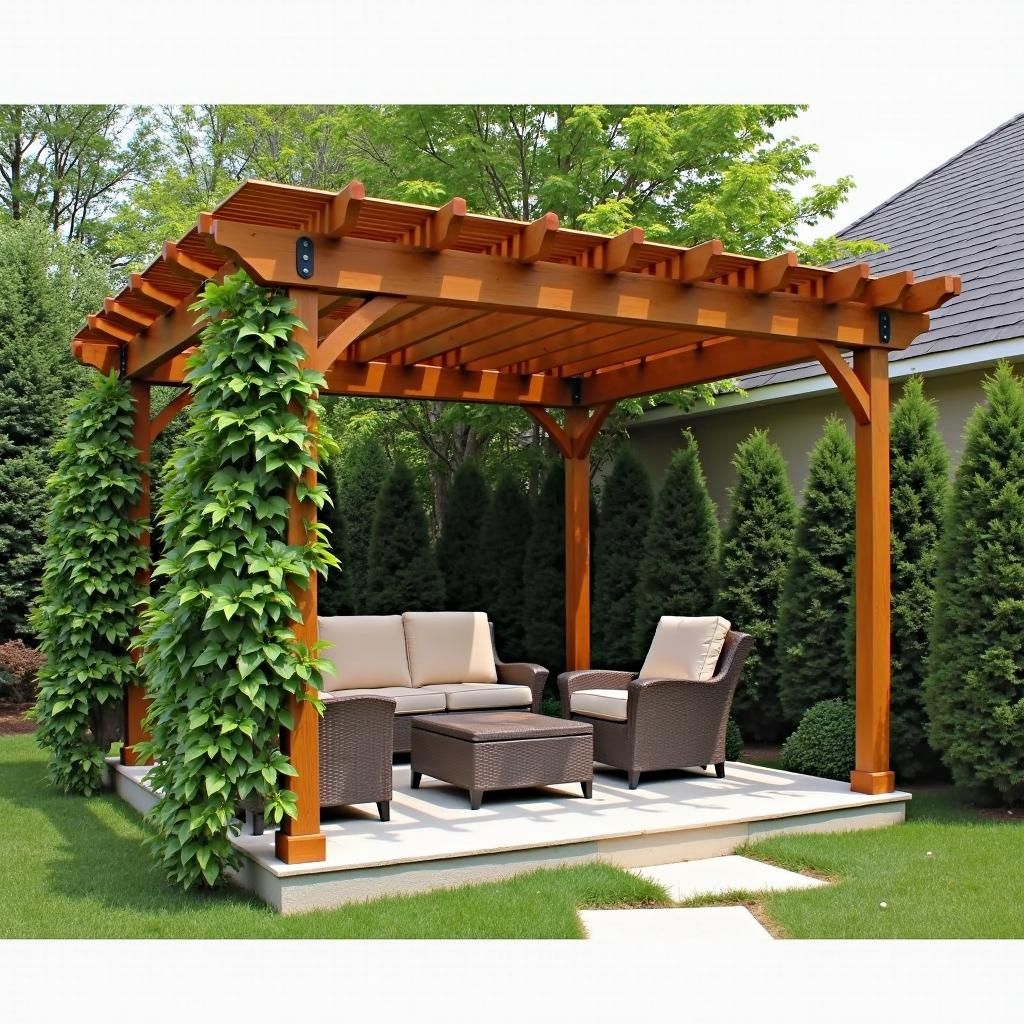
- The Classic Wooden Pergola: This timeless design utilizes basic woodworking skills and readily available lumber. It’s perfect for beginners and can be customized with different stains, climbing plants, or decorative details.
- The Modern Metal Pergola: For a sleek and contemporary look, consider a metal pergola. Pre-fabricated kits make assembly a breeze, and you can choose from various finishes to match your outdoor aesthetic.
- The Budget-Friendly Pallet Pergola: Repurposed wooden pallets offer an eco-friendly and affordable option for building a pergola. With a bit of sanding and creativity, you can create a charming and rustic addition to your backyard.
 Classic wooden pergola design with climbing plants
Gathering Your Pergola Building Materials
Before you start building, ensure you have the following materials. The exact quantities will vary depending on your chosen design and pergola size:
- Lumber: Pressure-treated pine or cedar are popular choices for their durability and weather resistance.
- Concrete Mix: For setting the pergola posts securely.
- Fasteners: Galvanized screws or nails are essential for outdoor projects to prevent rust.
- Outdoor Paint or Stain: Protect your pergola and enhance its appearance.
- Tools: Saw, drill, level, measuring tape, posthole digger, safety glasses, and work gloves.
Step-by-Step Guide to Building Your DIY Pergola
- Planning and Layout: Determine the location and measure your desired pergola size. Mark the post positions with stakes and string, ensuring the layout is square and level.
- Setting the Posts: Dig holes for your posts, ensuring they are at least 2 feet deep. Set the posts in concrete and use a level to ensure they are plumb. Allow the concrete to cure for at least 24 hours.
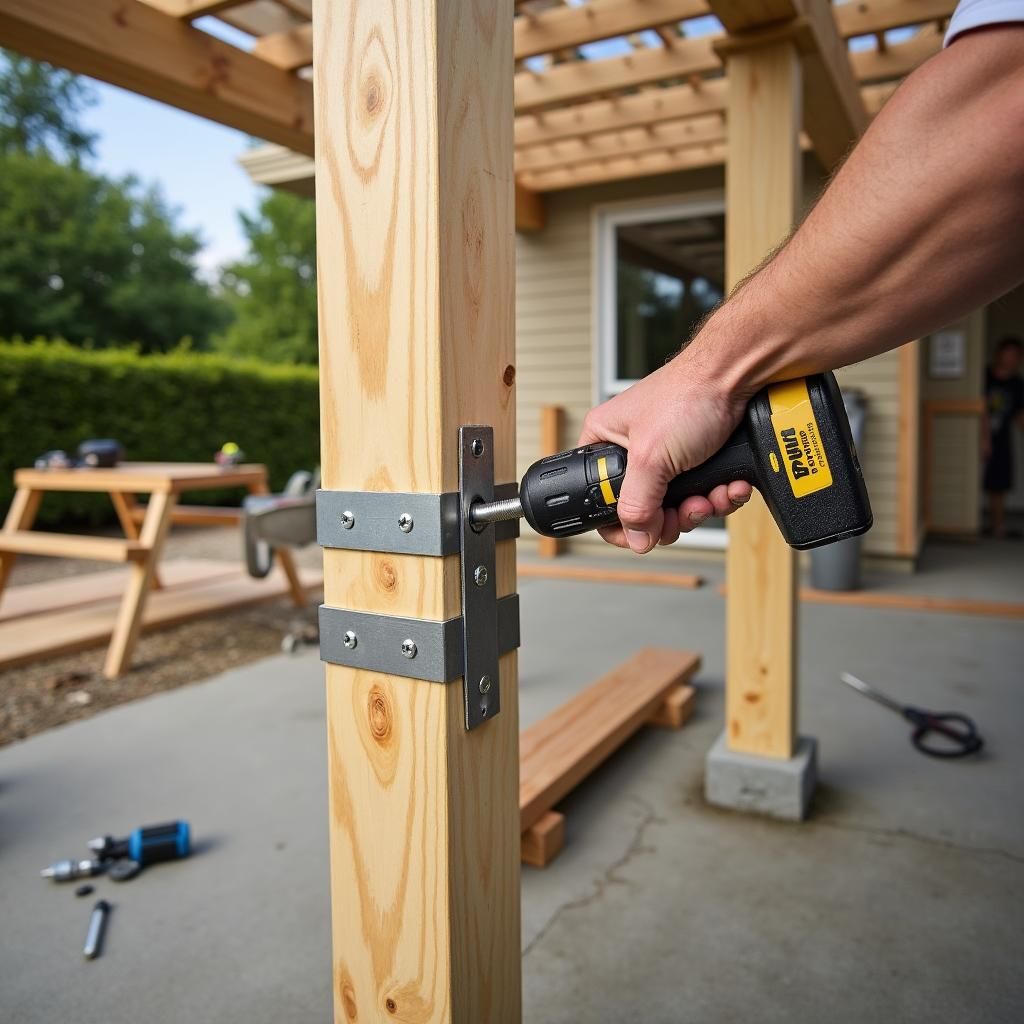
- Attaching the Beams: Cut and attach the beams to the top of the posts, creating the pergola’s frame. Use metal brackets or angle braces for added support.
 Attaching wooden beams to pergola posts
- Adding the Rafters: Cut and attach the rafters to the beams, spacing them evenly. This creates the pergola’s roof structure.
- Finishing Touches: Sand any rough edges and apply your chosen paint or stain. Once dry, add decorative elements like lattice panels, climbing plants, or outdoor lighting.
Tips for DIY Pergola Success
- Check for Underground Utilities: Before digging, contact your local utility companies to mark the location of any underground lines.
- Consider Sun Exposure: When choosing a pergola location, think about how the sun moves throughout the day to optimize shade.
- Don’t Be Afraid to Ask for Help: Enlist a friend or family member to assist, especially when lifting heavy materials or setting posts.
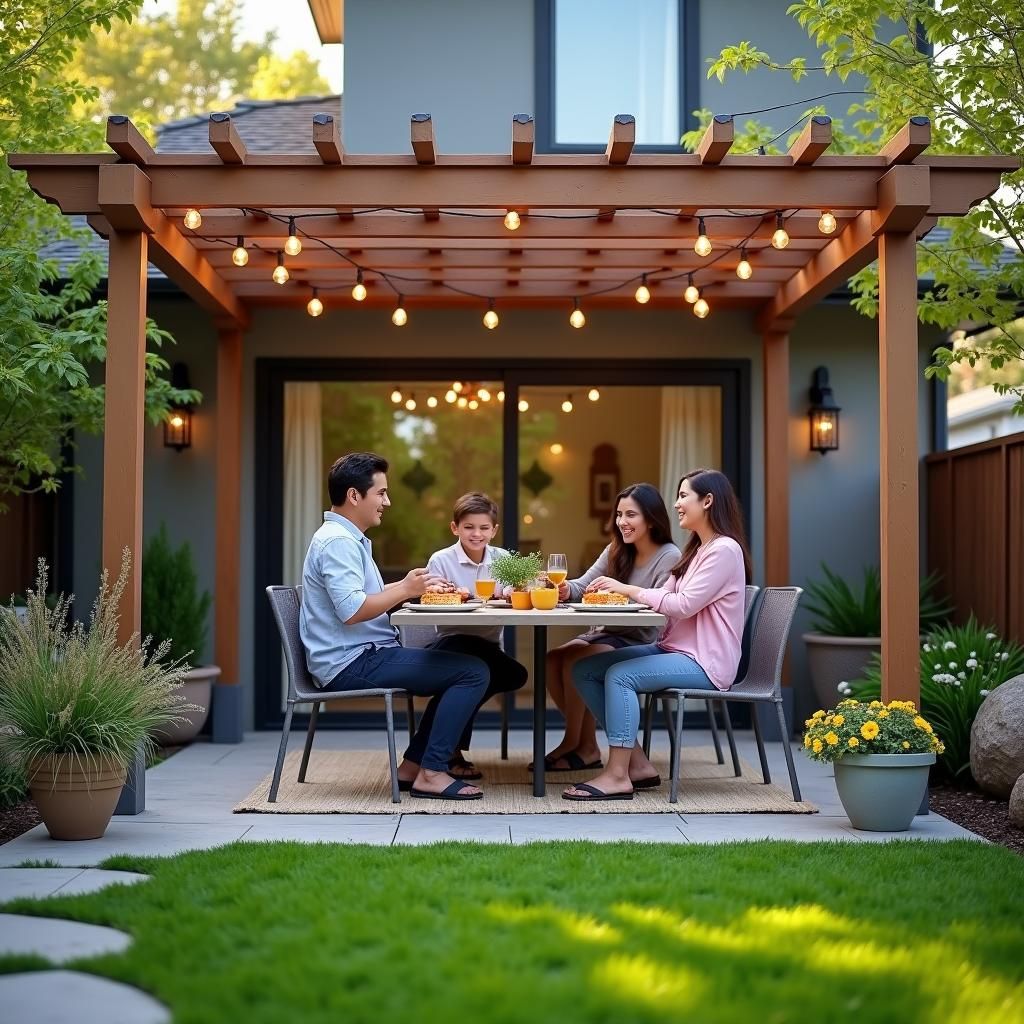
 Family enjoying time under their new pergola
Creating Your Dream Outdoor Oasis
Building a DIY pergola is a rewarding project that can significantly enhance your outdoor living space. By choosing an easy design and following these steps, you’ll be well on your way to creating the perfect backyard retreat. “A well-built pergola becomes an extension of your home, offering a space to unwind and connect with nature,” says landscape architect Sarah Williams, author of Outdoor Living Design. So gather your materials, put on your work gloves, and let’s get building!